Crossbow Beginner HQ
How to Sight In a Ravin Crossbow Scope
Learn how to sight in your Ravin crossbow scope step by step. This beginner-friendly guide covers safe setup, scope checks, close-range confirmation, distance adjustments, troubleshooting, and common mistakes so you can shoot with more confidence.
- ✓Start close and avoid costly first-shot mistakes
- ✓Understand scope adjustments, eye relief, and leveling
- ✓Build a repeatable sight-in routine before hunting season
SEO Title: How to Sight In a Ravin Crossbow Scope: Beginner Step-by-Step Guide
Meta Description: Learn how to sight in a Ravin crossbow scope step by step with beginner-friendly safety, setup, accuracy, and troubleshooting tips.
Suggested URL Slug: /setup/how-to-sight-in-a-ravin-crossbow-scope/
Table of Contents
Introduction
Why Sighting In Matters
Before You Start
Step 1: Check Eye Relief
Step 2: Level the Scope
Step 3: Start Close
Step 4: Make Small Adjustments
Step 5: Move Back Gradually
Troubleshooting
Common Beginner Mistakes
Recommended Gear
Related Ravin Setup Guides
FAQ
Final Thoughts
Introduction
One of the biggest mistakes new Ravin owners make is rushing through the sight-in process. A Ravin crossbow can be very accurate, but even the best crossbow will struggle if the scope setup is rushed, the arrows are not checked, or the shooter starts too far away.
The good news is that sighting in a Ravin scope is not difficult when you follow a simple process. You need a safe target area, approved arrows, a stable rest, a properly mounted scope, and patience.
This guide explains how to sight in a Ravin crossbow scope in plain English. It is written for beginners who want a safe, repeatable process before their first real range session or hunting season.
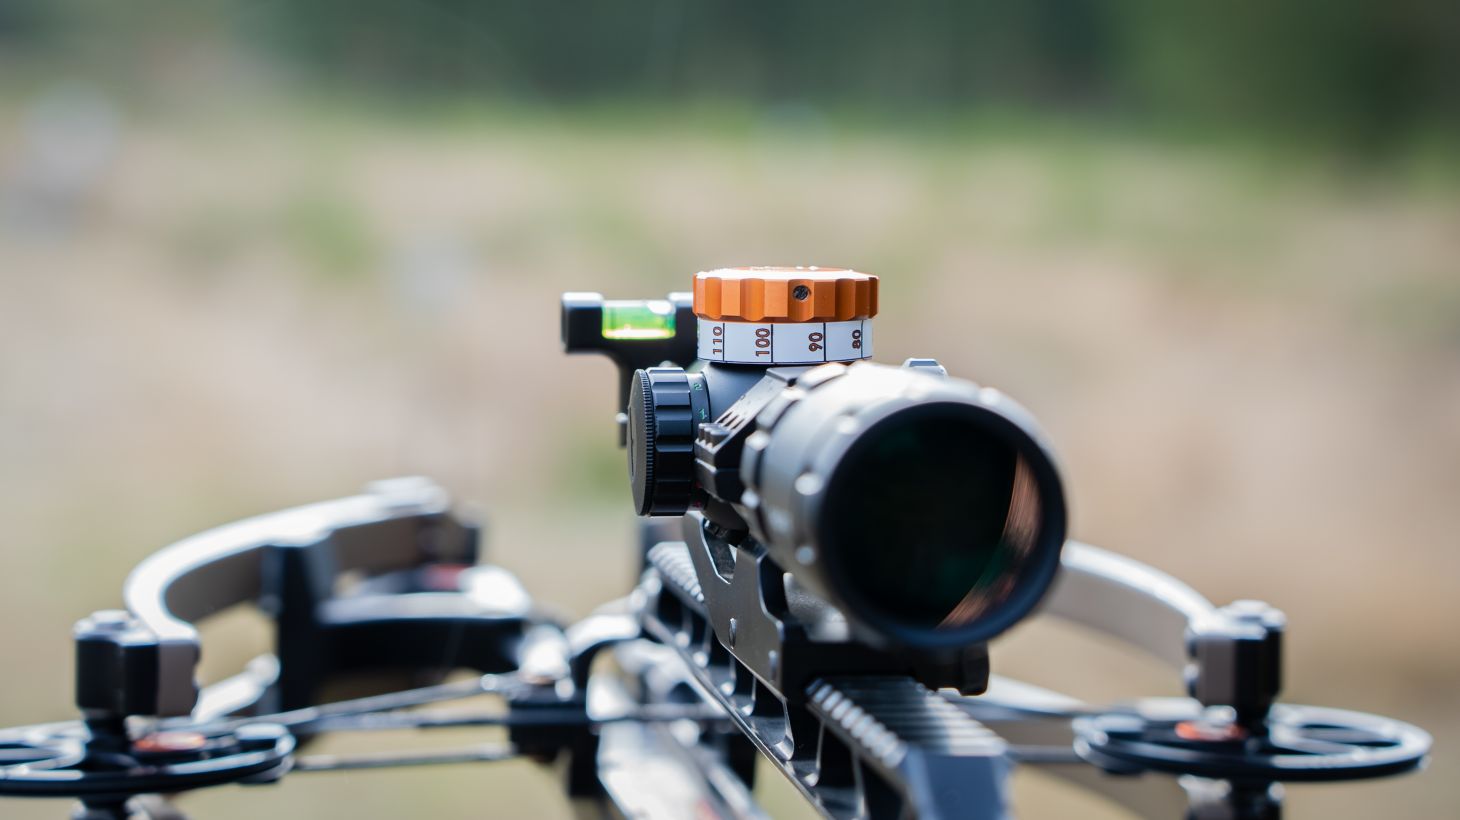
Get The Free Ravin Owner Maintenance Pack
Avoid expensive beginner mistakes with our free Ravin Owner Maintenance Pack.
- ✓ Beginner Setup Checklist
- ✓ Maintenance Checklist
- ✓ String Inspection Sheet
- ✓ Pre-Season Inspection Checklist
- ✓ Range Day Checklist
- ✓ Maintenance Calendar
Why Sighting In Your Ravin Scope Matters
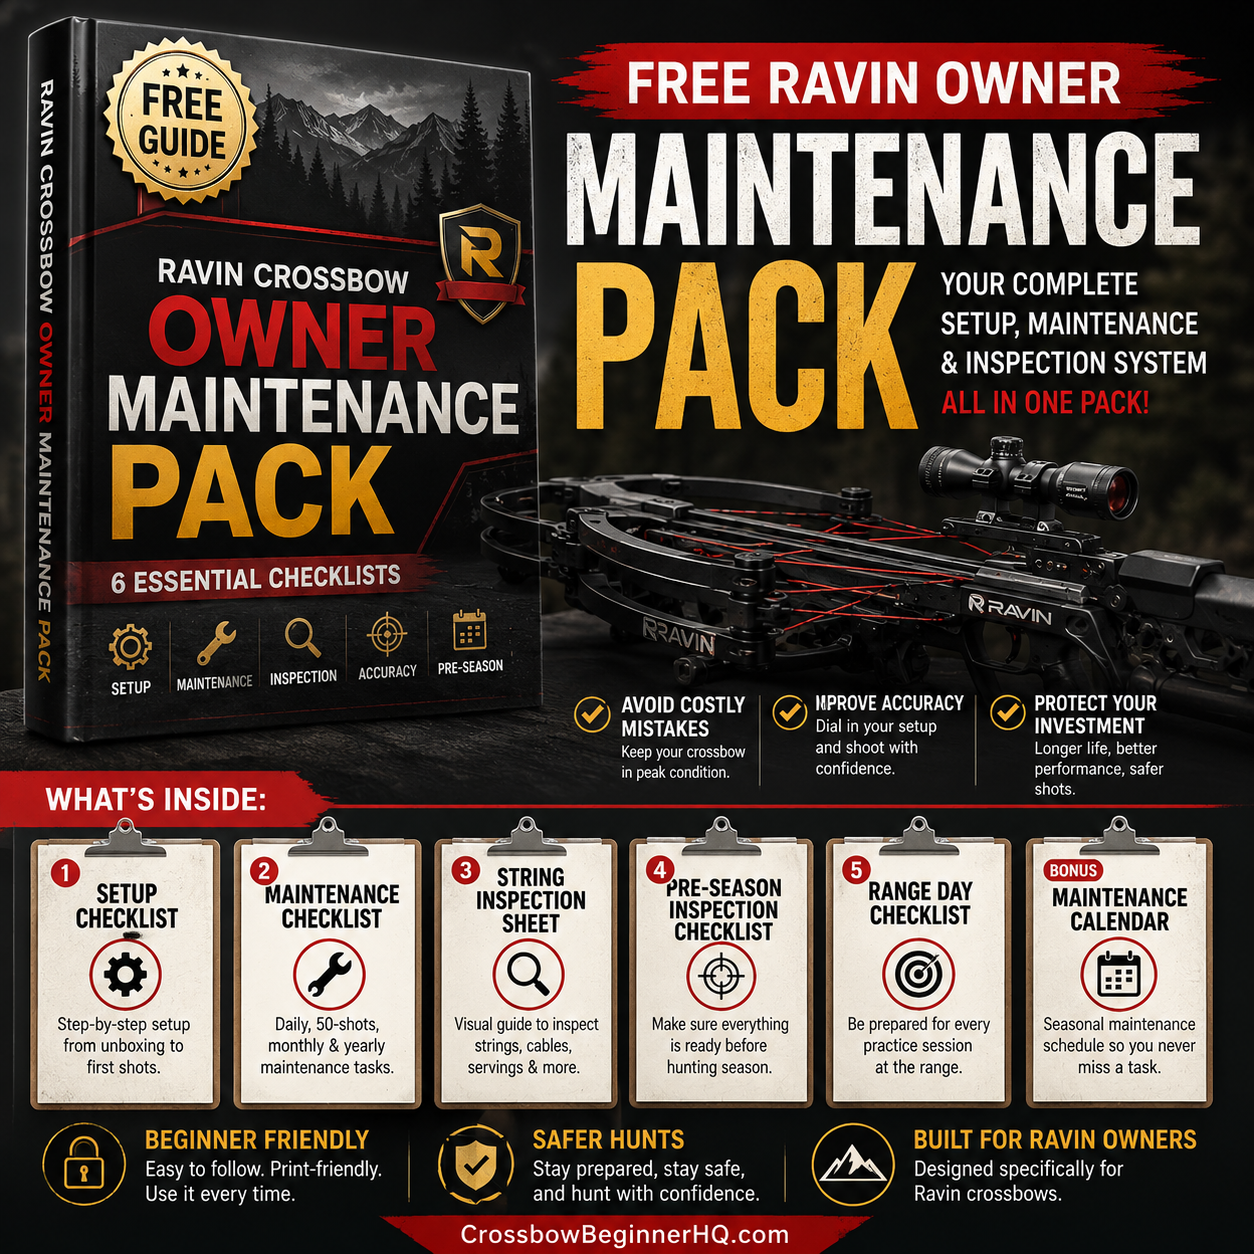
Sighting in means adjusting your scope so the arrow lands where you aim. Without this step, you are guessing.
A properly sighted-in Ravin crossbow helps with:
- Better accuracy
- More confidence
- More consistent groups
- Cleaner target practice
- More ethical hunting decisions
Many beginners blame the scope, arrows, or crossbow when the real problem is inconsistent shooting technique or poor setup. Before making big changes, confirm the basics first.
Before You Start Sighting In
Before you fire the first arrow, make sure your Ravin is safe, inspected, and ready.
- ☐ Read the official Ravin owner’s manual.
- ☐ Confirm the crossbow is unloaded before setup.
- ☐ Inspect limbs, strings, cables, rail, and visible hardware.
- ☐ Confirm arrows and nocks are approved for your model.
- ☐ Inspect every arrow for cracks, chips, loose nocks, or damaged vanes.
- ☐ Use a target rated for high-speed crossbows.
- ☐ Confirm a safe backstop behind the target.
- ☐ Use a stable shooting rest, bench, or bags if possible.
For a full setup process, read How to Set Up a Ravin Crossbow for Beginners and Ravin Crossbow First Shot Checklist for Beginners.
Step 1: Check Eye Relief
Eye relief is the distance between your eye and the rear lens of the scope. When eye relief is wrong, the scope image may look dark, shadowed, or incomplete.
Shoulder the crossbow naturally and look through the scope. You should see a full, clear image without needing to stretch your neck or move your head around.
Poor eye relief can make your point of aim inconsistent from shot to shot. This creates frustration because the crossbow may seem inaccurate even when the real problem is your eye position.
For a deeper walkthrough, read Ravin Crossbow Eye Relief Adjustment Guide.
Step 2: Level the Scope
A tilted scope can cause left or right misses, especially as distance increases. This is called scope cant.
Before serious sight-in work, confirm the crossbow is level and the scope reticle is level. A small bubble level or scope leveling kit can help.
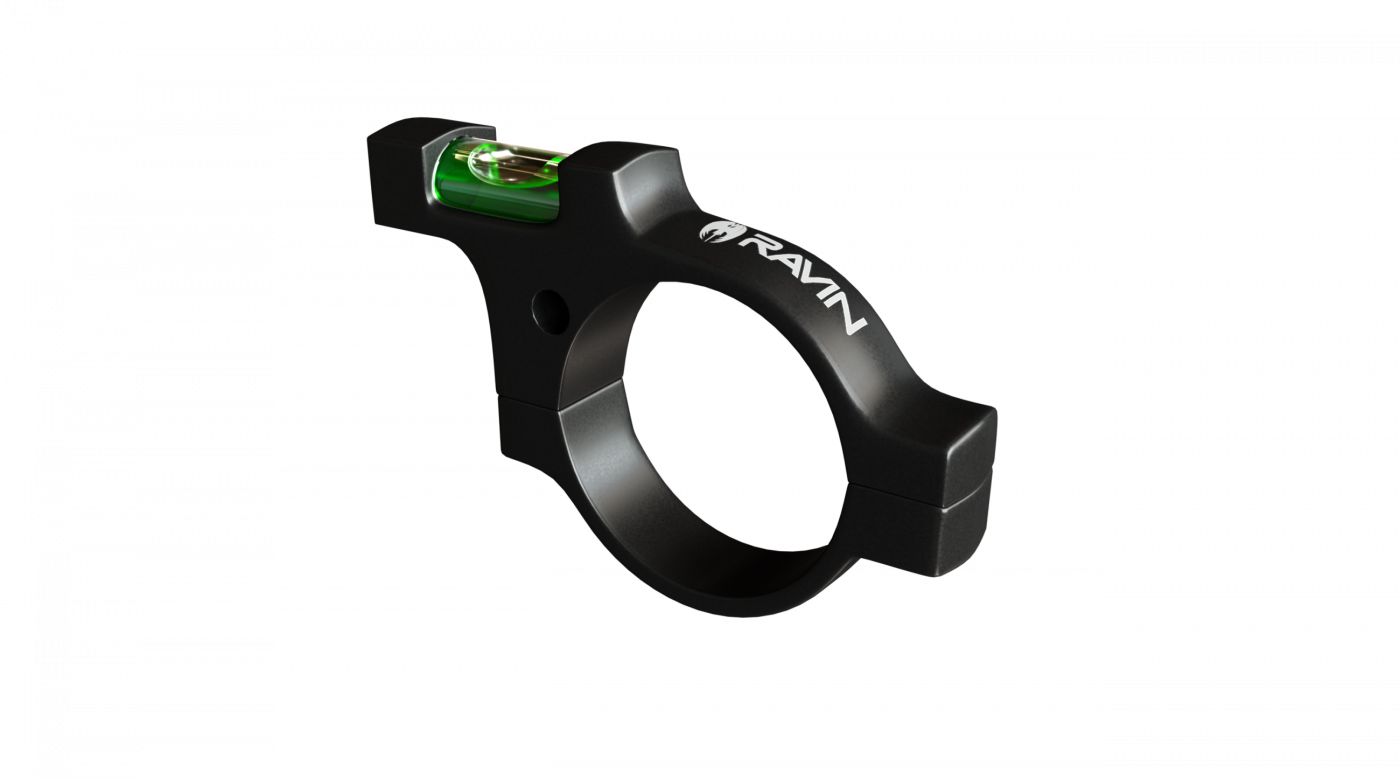
For the full process, read How to Level a Ravin Crossbow Scope at Home.
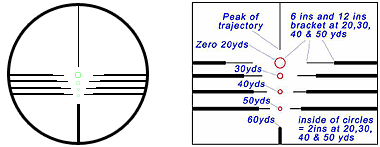
Step 3: Start Close
Beginners should not start sighting in at long distance. Start close so you can confirm that the arrow is safely hitting the target.
Many Ravin setup processes begin close, then move back as the shot placement becomes more predictable. Starting close protects arrows, targets, and confidence.
Beginner Starting Process
- Start at a close distance with a safe target and backstop.
- Use a stable rest or shooting bags.
- Aim carefully and shoot one arrow.
- Confirm the arrow safely hits the target.
- Then begin shooting controlled groups.
Step 4: Make Small Scope Adjustments
After your arrows are safely on target, make small windage and elevation adjustments.
Windage moves the point of impact left or right. Elevation moves the point of impact up or down.
Simple Adjustment Rules
- If arrows hit low, adjust elevation according to your scope instructions.
- If arrows hit high, adjust elevation in the opposite direction.
- If arrows hit left or right, adjust windage carefully.
- Make small changes, then shoot again.
Do not crank the adjustment knobs randomly. Keep notes if needed. Beginners often get confused because they make too many adjustments too quickly.
Don’t Guess During Sight-In
The free Ravin Owner Maintenance Pack gives you printable setup, maintenance, inspection, pre-season, range-day, and calendar resources so you can build a repeatable routine.
- ✓ Beginner Setup Checklist
- ✓ Maintenance Checklist
- ✓ String Inspection Sheet
- ✓ Pre-Season Inspection Checklist
- ✓ Range Day Checklist
- ✓ Maintenance Calendar
Step 5: Move Back Gradually
Once your close-range shots are safe and consistent, move back gradually. Do not jump straight into long-distance shooting.
As you move back, pay attention to group size, scope level, arrow condition, and your shooting form.
What to Watch For
- Groups opening up suddenly
- Shots drifting left or right
- Vertical misses that may relate to speed calibration or aiming point
- Dark scope picture caused by inconsistent eye relief
- Loose hardware after repeated shots
If groups get worse, move closer again and confirm your basics.
Troubleshooting Ravin Sight-In Problems
| Problem | Possible Cause | Beginner Fix |
|---|---|---|
| Shots hitting left or right | Scope cant, wind, uneven grip, poor leveling | Level the scope and shoot from a stable rest |
| Groups are random | Damaged arrows, loose scope, rushed trigger, poor rest | Inspect arrows, check scope mounts, and slow down |
| Scope image looks dark | Eye relief is incorrect | Adjust eye position or scope placement |
| Shots hit low at distance | Wrong aiming point, speed calibration issue, poor follow-through | Check scope instructions and confirm close-range zero first |
| One arrow flies differently | Damaged arrow, nock issue, vane damage | Stop using that arrow until inspected |
Common Beginner Mistakes
Starting Too Far Away
Long-range shooting before confirming close-range impact can miss the target and damage arrows.
Skipping Eye Relief
If the scope picture is shadowed, your head position may change every shot.
Ignoring Scope Level
A tilted scope can create confusing left and right misses at longer distances.
Using Damaged Arrows
Cracked shafts, damaged nocks, or bad vanes can ruin accuracy and create safety issues.
Adjusting Too Quickly
Do not chase every single arrow. Make small adjustments based on controlled groups.
Poor Shooting Rest
A wobbly rest makes it hard to know whether the issue is the shooter or the scope.
Recommended Gear for Sighting In
You do not need every accessory on day one, but a few simple tools make sighting in much easier.
- Crossbow-rated target
- Safe backstop
- Approved Ravin arrows and nocks
- Field points
- Stable shooting bags or rest
- Bubble level or scope leveling kit
- Rangefinder
- Torque driver for scope hardware
- Eye protection
Helpful Ravin Sight-In Gear
For beginners, useful sight-in gear includes a rated target, approved arrows, field points, a stable rest, a scope level, and Ravin-approved maintenance products. Focus on gear that improves safety and consistency first.
Related Ravin Setup Guides
How to Set Up a Ravin Crossbow for Beginners
Ravin Crossbow First Shot Checklist for Beginners
Ravin Crossbow Eye Relief Adjustment Guide
How to Level a Ravin Crossbow Scope at Home
Ravin Crossbow Instructions for Beginners
Ravin R5X Out of Box Setup Tips
Common Ravin Crossbow Setup Mistakes to Avoid
How to Improve Ravin Crossbow Accuracy
Ravin Crossbow Maintenance Guide for Beginners
FAQ: How to Sight In a Ravin Crossbow Scope
How far should I start when sighting in a Ravin crossbow scope?
Beginners should start close so they can confirm the arrow is safely on target. Then move back gradually as accuracy improves.
Why is my Ravin scope blurry or dark?
The most common cause is poor eye relief or incorrect scope focus. Check your head position and adjust the scope or eyepiece as needed.
Do I need to level my Ravin scope before sighting in?
Yes. A tilted scope can cause left and right misses, especially at longer distances.
Should I adjust the scope after every shot?
No. Shoot controlled groups when possible and make small adjustments based on the center of the group.
Can bad arrows affect Ravin accuracy?
Yes. Damaged arrows, cracked nocks, bent vanes, or inconsistent arrow setup can cause poor grouping.
Should beginners use a shooting rest?
Yes. A stable rest removes unnecessary movement and helps separate shooter error from equipment issues.
Final Thoughts
Learning how to sight in a Ravin crossbow scope is one of the most important skills a beginner can develop. It helps you understand your crossbow, your scope, your arrows, and your own shooting habits.
Take your time. Start close. Use approved arrows. Keep your scope level. Make small adjustments. Do not chase one bad shot. A careful sight-in process builds confidence and helps you avoid costly mistakes.
Before your next range session, download the free Ravin Owner Maintenance Pack and use it as your setup, inspection, maintenance, and range-day guide.
Get The Free Ravin Owner Maintenance Pack
Get all 6 printable Ravin owner resources in one free download and avoid costly beginner mistakes.
- ✓ Beginner Setup Checklist
- ✓ Maintenance Checklist
- ✓ String Inspection Sheet
- ✓ Pre-Season Inspection Checklist
- ✓ Range Day Checklist
- ✓ Maintenance Calendar
“`